|
Add Grid and Columns to Screen |

  
|
|
Add Grid and Columns to Screen |
|
Choose this Screen Options menu item to add a TTASDataGrid with columns to an existing or new screen form.
MENU ACCESS
Screen Options -> Add Grid and Columns to Screen
MAIN SCREEN
When you first choose this option the following screen is displayed:

Either enter a FD name, or click on the drop down arrow to display all of the FDs available.
If you wish to add all of the fields of the FD to the grid then click on the All Fields button. Otherwise, click on the Choose Fields button and the following will be displayed:
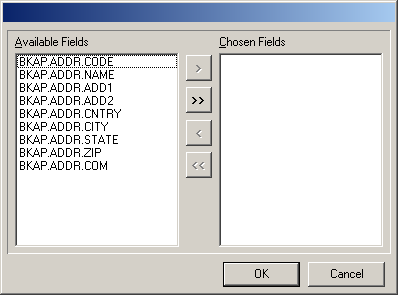
You must choose the fields you want to be added to the grid. You can choose all the fields by clicking on the ![]() button. Or, click on a field and then click the
button. Or, click on a field and then click the ![]() button. Each time you click on either button fields or a field will move to the Chosen Fields list. Only the fields in the Chosen Fields list will be added to the grid. You can move chosen fields back to the Available Fields list by clicking
button. Each time you click on either button fields or a field will move to the Chosen Fields list. Only the fields in the Chosen Fields list will be added to the grid. You can move chosen fields back to the Available Fields list by clicking ![]() (a single chosen field) or
(a single chosen field) or ![]() (all fields in Chosen Field list). You can also reorder fields in the Chosen Field list by dragging and dropping them within the Chosen Field list. The order they appear in the Chosen Field list will be the same order they are added on the grid.
(all fields in Chosen Field list). You can also reorder fields in the Chosen Field list by dragging and dropping them within the Chosen Field list. The order they appear in the Chosen Field list will be the same order they are added on the grid.
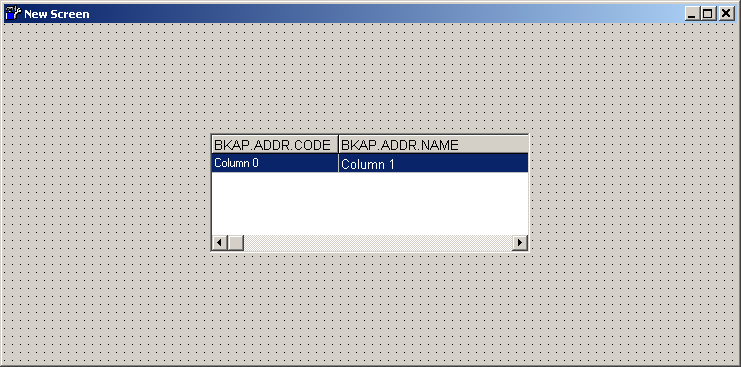
When you click on the OK button you will be returned to the screen form. Notice the grid has been added to the form. Each of the columns has been setup properly depending on the field type. All the information that can be setup for that column including the FieldName, Editor, Header and Width has been done. You can now move the grid to the proper location and resize it as appropriate.
Page url: http://www.cassoftware.com/tas/manual/addgridandcolumnstoscreen.htm